Mastering Email Management with Gmail’s Priority Inbox
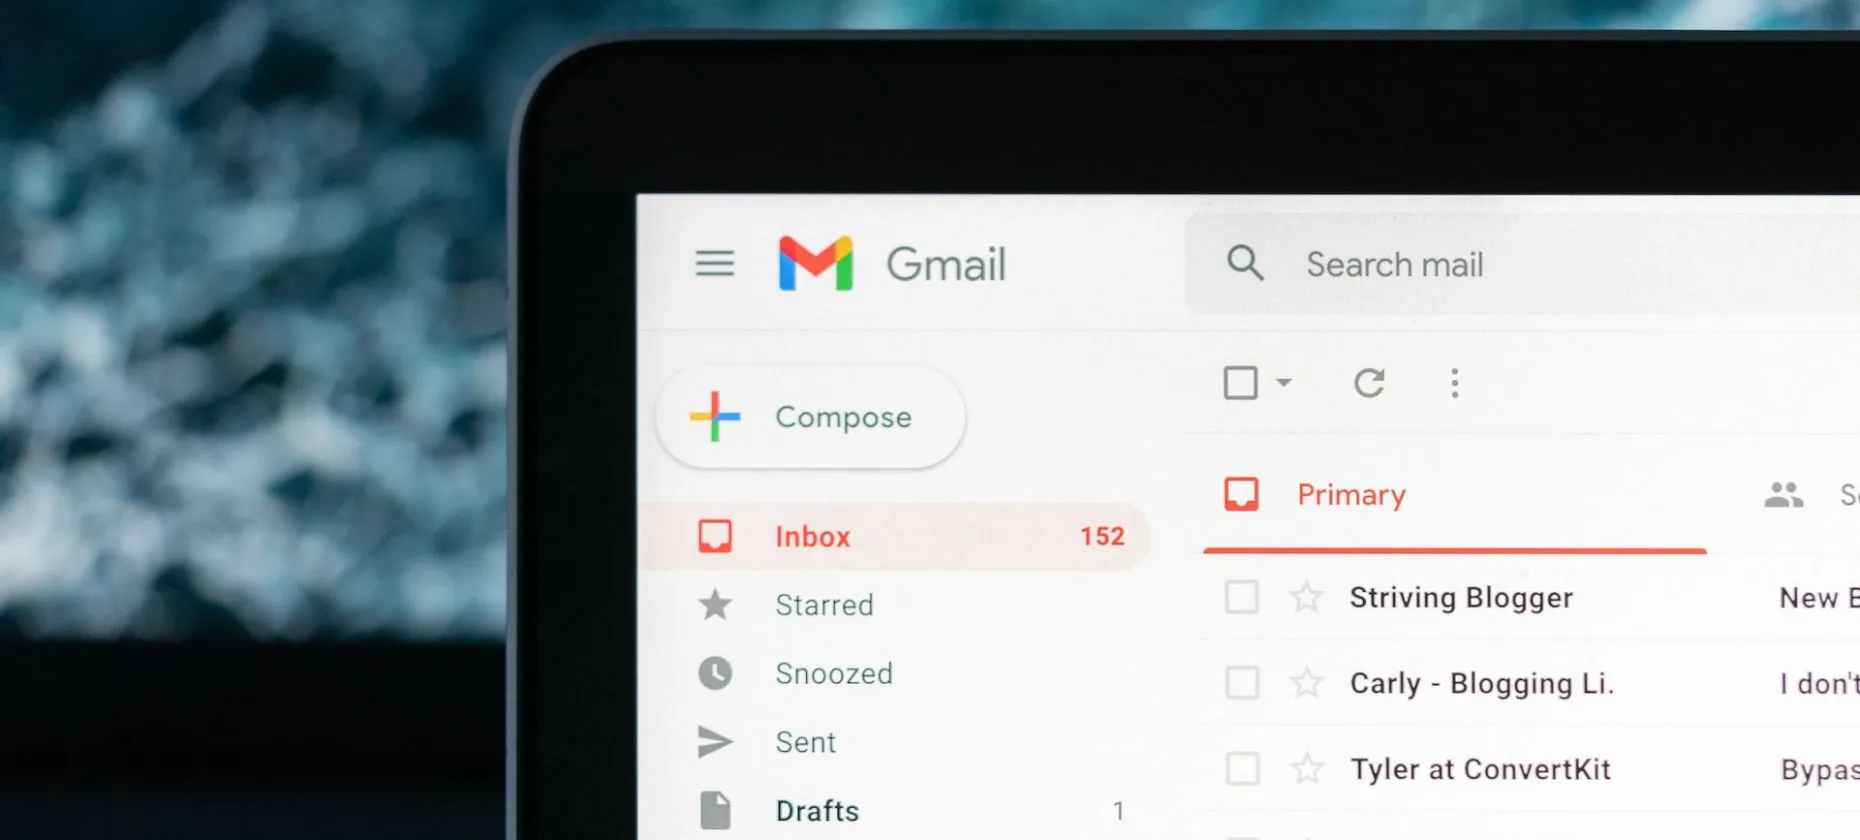
Managing emails can sometimes be a daunting task, especially with the influx of social and promotional emails that make it difficult to separate important communication from spam. However, Gmail offers a range of built-in tools to help users organize their inbox and prioritize important emails.
The Priority Inbox feature in Gmail allows users to customize their settings so that they can see important emails at the top of their inbox, making it easier to focus on what matters.
- To enable Priority Inbox, open Gmail in your browser and click on the gear icon on the top-right corner of the page.
- Select ‘See all settings’ and go to the ‘Inbox’ tab.
- Choose ‘Priority Inbox’ from the dropdown menu next to Inbox type.
- Scroll down and click ‘Save Changes’.
If you find that important emails are ending up in the Promotions or Social tabs instead of your Priority Inbox, you can move them to the Primary tab and add them to the appropriate sections in your Priority Inbox view.
Additionally, if you prefer to see more important emails in your Priority Inbox, you can adjust the number of emails shown by following these steps:
- Click on the gear icon in Gmail and select ‘See all settings’.
- Go to the ‘Inbox’ tab.
- In the ‘Inbox sections’ section, click ‘Options’ next to each priority email type.
- In the dropdown menu under ‘Show up to’, select the desired number of emails to be shown for each priority type.
- Scroll down and click ‘Save Changes’.
Another useful feature of Gmail’s Priority Inbox is the ability to star important emails. When you star an email, it is automatically displayed in your Priority Inbox. Simply click on the star icon next to the sender’s name to flag an email as important.
To further customize your Priority Inbox view, you can add new sections and labels:
- Click on the gear icon in Gmail and select ‘See all settings’.
- Go to the ‘Inbox’ tab and choose ‘Priority Inbox’ from the dropdown menu next to Inbox type.
- In the ‘Inbox sections’ section, click ‘Add section’.
- In the dropdown menu, select ‘More options…’ to choose the appropriate label or section to view relevant emails
- Scroll down and click ‘Save changes’.
By utilizing these features and customizing your Priority Inbox, you can easily manage your emails and focus on what’s important to you. Gmail’s Priority Inbox helps streamline incoming communication and ensures a cleaner, more focused inbox.


