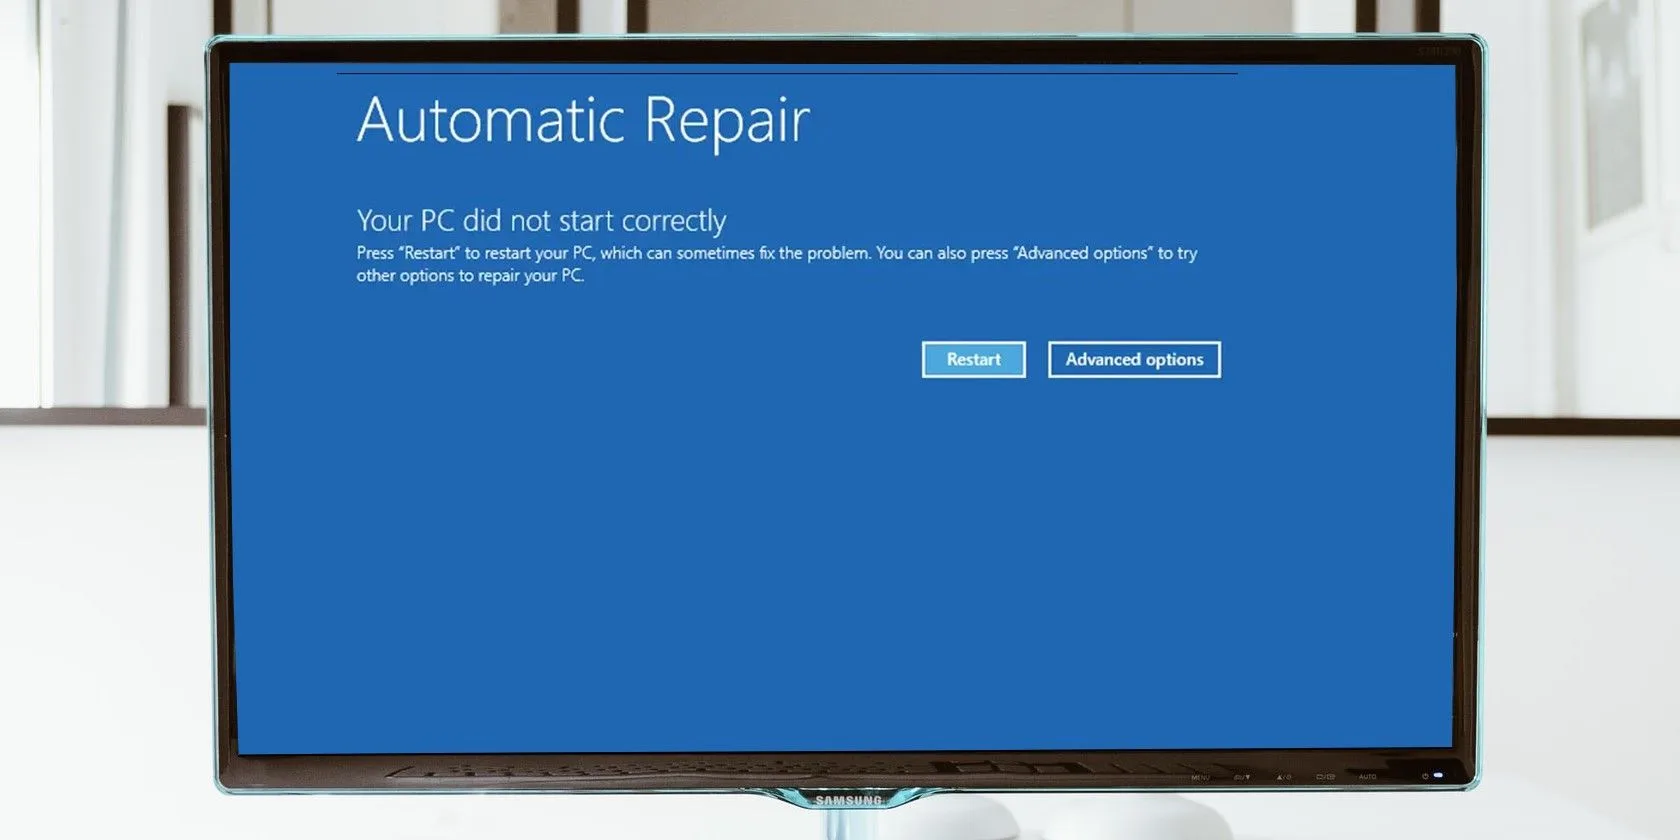
Fixing the ‘Your PC did not start correctly’ Error in Windows
You may occasionally encounter an error message that says “Your PC did not start correctly” when you boot into Windows. Although this error is not usually serious, if you see it repeatedly, it’s worth paying attention to and finding a solution.
There are several possible causes for this error, such as hardware upgrades, driver updates, or file system corruption. If it’s the first time you’ve seen the error, try restarting your PC to see if it reappears. If it does, you can try the following fixes:
- Run the Startup Repair Tool: The Startup Repair tool is a built-in Windows utility that can diagnose and fix PC problems. To use it, select Advanced options instead of Restart when you see the “Your PC did not start correctly” screen. Go to Troubleshoot > Advanced options and click on Startup Repair.
- Boot into Safe Mode: Safe Mode starts your PC in a limited state, allowing you to troubleshoot Windows. You can enter Safe Mode by selecting Advanced Options > Startup Settings, and then pressing the 4 or F4 key on your keyboard.
- Perform a System Restore: System Restore can help you go back to a point where your PC was functioning properly. To perform a system restore, go to Advanced options > System Restore and select a restore point created when your PC was working fine.
- Check for Missing or Corrupt System Files: Use the System File Checker utility to scan for and repair missing or corrupt system files. Open the Command Prompt from the Advanced options menu and run the commands DISM.exe /Online /Cleanup-image /Restorehealth and sfc /scannow.
- Repair the Boot Configuration Data (BCD): If the previous fixes didn’t work, you can try repairing the BCD. Open the Command Prompt and run the command bootrec /rebuildbcd.
- Repair the Master Boot Record (MBR): The MBR is responsible for booting your PC. To fix it, open the Command Prompt and run the command chkdsk /r, followed by bootrec /rebuildbcd, bootrec /fixmbr, and bootrec /fixboot.
- Delete Recent Windows Updates: If you recently installed a Windows update and started experiencing the error, you can try uninstalling the update. Boot into Safe Mode and uninstall the update through the Control Panel or the Advanced Options menu.
- Reset Your PC: As a last resort, you can reset your PC, which reinstalls the entire OS. Note that this will remove all third-party apps and reset all settings to default.
If you’ve tried all these fixes and are still unable to boot into Windows, don’t give up. Keep troubleshooting or seek professional help if needed.
Ads
Source: 8 Ways to Fix the “Your PC Did Not Start Correctly” Error